Want to swap out your keyboard switches to change feel, fix a dead key, or experiment with a new sound profile? Replacing keyboard switches is one of the most rewarding tweaks you can do to a mechanical keyboard. This guide walks you through everything you need to know, with step-by-step instructions for both hot-swappable and soldered keyboards, safety tips, troubleshooting, and sensible modding advice. Read on and you’ll be swapping keyboard switches like a pro — no soldering experience required for hot-swap boards, and clear soldering steps if you’ve got a soldered PCB.
First: hot-swap or soldered? why that matters
Before you touch anything, find out whether your keyboard supports hot-swap keyboard switches or whether the switches are soldered to the PCB. Hot-swap boards let you pull switches straight out and push new ones in with no soldering. Soldered boards require desoldering each switch and resoldering replacements. Trying to yank soldered keyboard switches without desoldering risks bending pins, lifting pads, or ruining the PCB. Many manufacturers publish hot-swap instructions and step-by-step visuals that make the difference between a quick swap and a board that needs repair.
Tools, parts, and safety (what you need on hand)
You don’t need a mountain of gear, but a handful of tools makes the job safe and painless. For hot-swap keyboard switches you’ll need a keycap puller and either a switch puller or a pair of small needle-nose pliers. For soldered keyboard switches you’ll also need a temperature-controlled soldering iron, a desoldering pump or braid, replacement solder, and flux. A few extras — anti-static mat, small screwdriver set, magnifier, and a parts tray — speed things up and lower risk. When swapping keyboard switches, always unplug the keyboard, work on a grounded surface, and keep screws and springs in a small container so parts don’t vanish.
Replacing keyboard switches on a hot-swap keyboard — easy mode
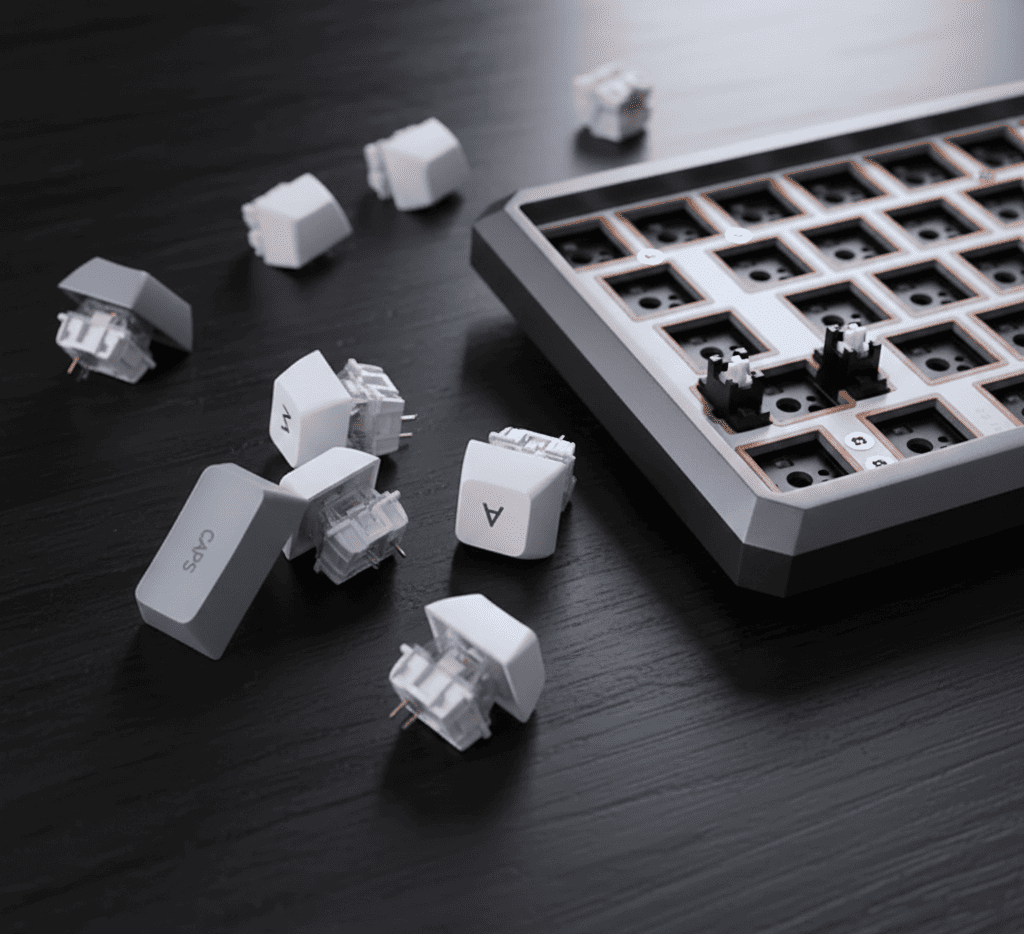
If your keyboard supports hot-swap keyboard switches this is delightfully quick. First remove the keycaps with a keycap puller and set them aside in a photographed layout so you don’t mix rows. Next use a switch puller (or the included tool) to compress the two plastic clips on the switch housing and lift straight up. Pull steadily and keep the pull vertical; don’t bend the pins. Inspect the hot-swap socket and pins for debris or bent pins.
If everything looks good, align the new switch’s pins with the socket and press straight down until it seats. Replace the keycap and test the switch. Hot-swap replacement protects the switch housing and the PCB and is the fastest way to try different keyboard switches. For a visual, manufacturer pages and succinct videos walk through this exact flow.
Replacing keyboard switches on a soldered board — desolder and resolder
Soldered keyboards require more care but the steps are straightforward when you follow a methodical approach. Start by unplugging the keyboard and removing the case and plate following the manufacturer’s disassembly instructions. Photograph the layout so you can return keys to the right spots. Heat a quality soldering iron and use a desoldering pump or braid to remove solder from the two switch pins while applying heat. Once the solder is removed you can push the switch out from the top. Clean any leftover flux and inspect the PCB pads: if pads or vias lift you’ll need PCB repair before installing replacement keyboard switches.
To fit a new switch, insert it into the plate and PCB with the pins straight, then carefully solder each pin to the pad using a small amount of solder and a clean iron tip. Avoid bridging pads, keep iron contact time short to prevent lifted pads, and test each joint before moving on. Step-by-step repair guides for popular models show this process in detail and are a good reference if you’re doing your first soldered swap.
Preparation and planning: photograph, label, and test
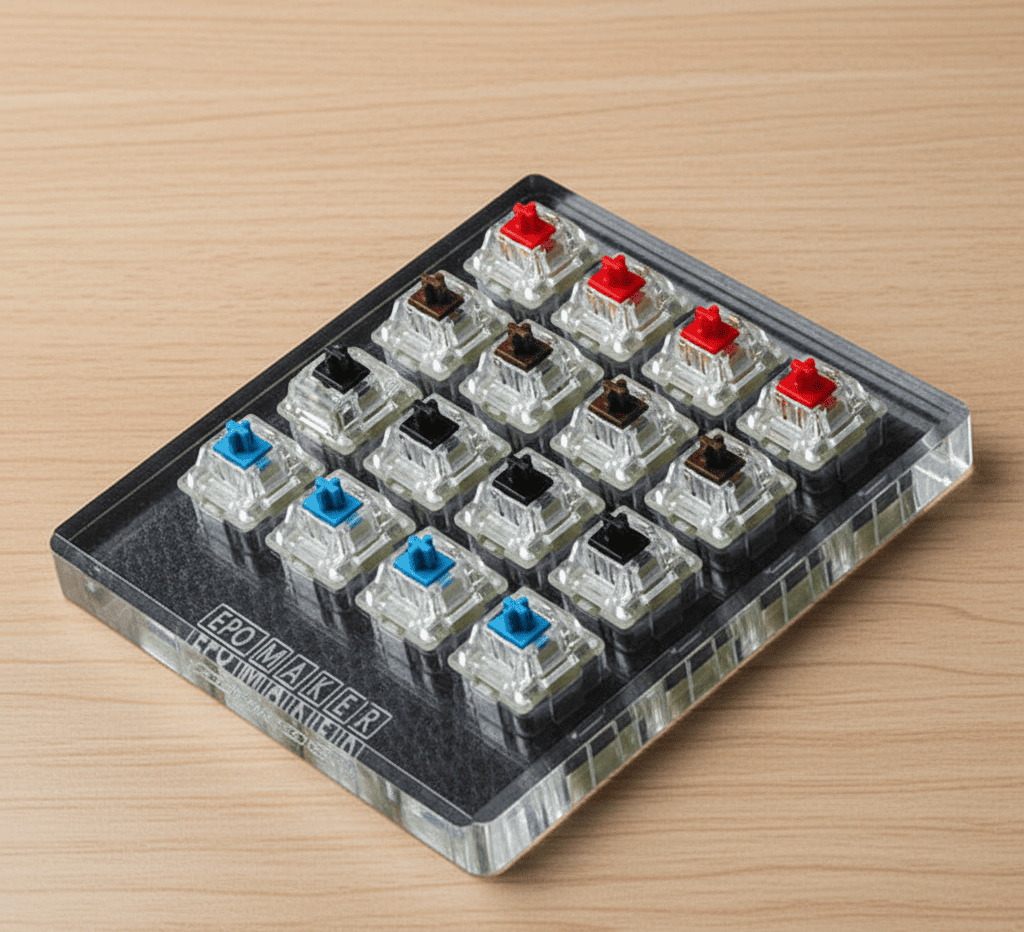
Before you begin replacing keyboard switches do a quick inventory. Photograph the keyboard layout from directly above and label rows if the layout is nonstandard. Test each key with an online key tester to identify exactly which keyboard switches are faulty or which positions you intend to change. Knowing the quantity and type of replacement keyboard switches you need prevents ordering mistakes and reduces downtime. If you plan to replace a full set, count extras and keep sample switches available for testing before committing to a bulk order.
Step-by-step soldering walkthrough for soldered keyboards
Begin with disassembly and labeling. Remove the case screws, unplug any cables, and gently lift the plate to expose the PCB. Heat a solder joint with the iron and use the desoldering pump while the solder is molten; repeat for both pins of the target keyboard switches. With the solder removed push the old switch out from the top. Clean the pads with flux cleaner and inspect for lifted pads; repair any damage before inserting new parts. Seat new keyboard switches with straight pins, hold them flush, and apply solder briefly so the joint wets both pad and pin. Work slowly and test continuity as you go. Good ventilation and safety glasses are important whenever you’re soldering.
Troubleshooting and tips while replacing keyboard switches
If a replacement switch doesn’t register, check that the pins are fully seated and not bent. On hot-swap boards bent pins are the most common issue; gently straighten them with fine pliers. For soldered keyboards a cold or missing solder joint is the usual culprit — reheat and add a touch more solder. Stabilized keys like the spacebar, enter, and shift often need special attention: if a key feels wobbly after replacing keyboard switches, check that the stabilizers are clipped, properly seated, and lubricated. Test individual switches early instead of waiting until full reassembly; it saves a lot of hunting later.
Advanced modding: lubing, films, springs, and sound tuning
Once replacement keyboard switches are in place you can fine-tune sound and feel. Open switches and lube stems if smoothness is your goal; apply lubricant sparingly around the stem and spring, but avoid the contact leaf on tactile or clicky keyboard switches where excess lube will deaden feedback. Switch films reduce wobble and change acoustics; switch springs can be swapped for a different actuation force and return. Plate foam, case dampening, and keycap profile also make measurable differences in the final tone and feel. Vendor recommendations and community write-ups explain appropriate lubricants and application techniques for different switch types.
When to replace vs repair
Not every noisy or inconsistent key requires a full replacement of keyboard switches. Sometimes a clean, a re-seat, or a tiny blob of solder repair fixes the problem. Replace keyboard switches when the mechanism is physically damaged, when the contact leaf is corroded, or when repeated failures occur. If the keyboard switches are under warranty confirm repair rules before altering the board, because soldering may void manufacturer warranty.
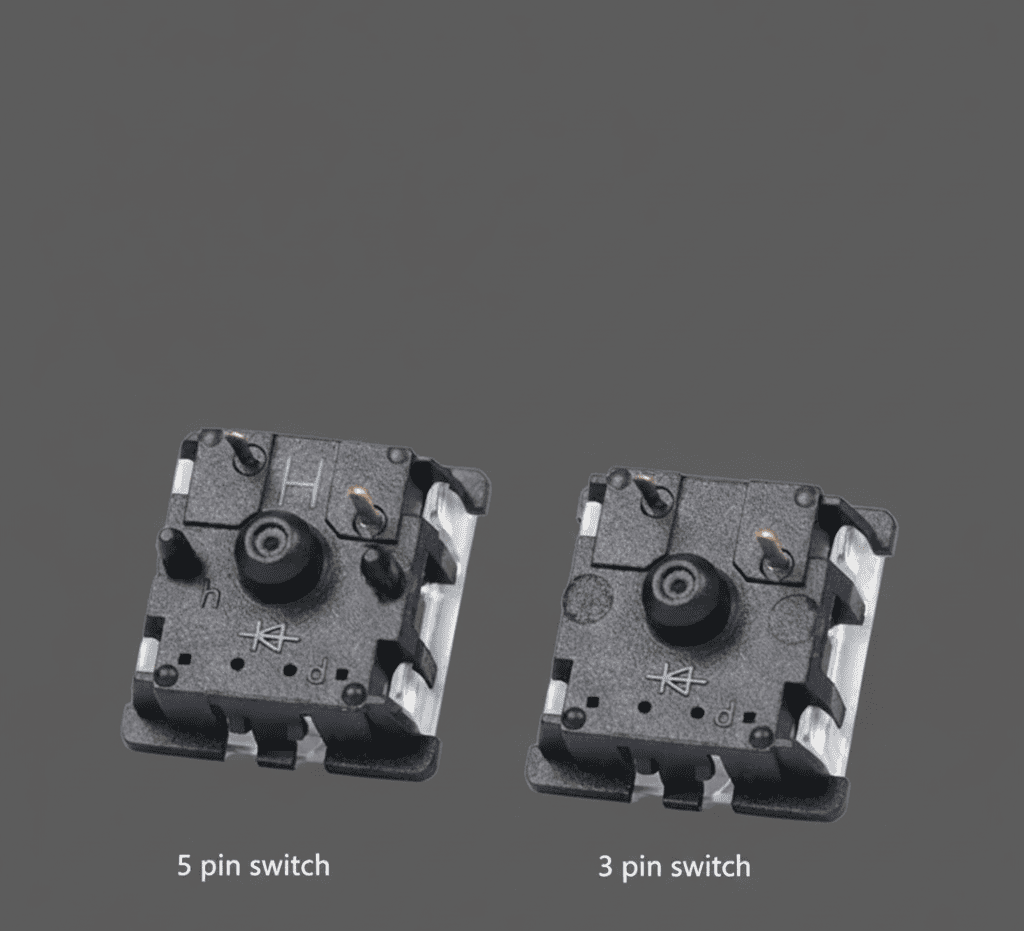
Shopping and quantities: what to order
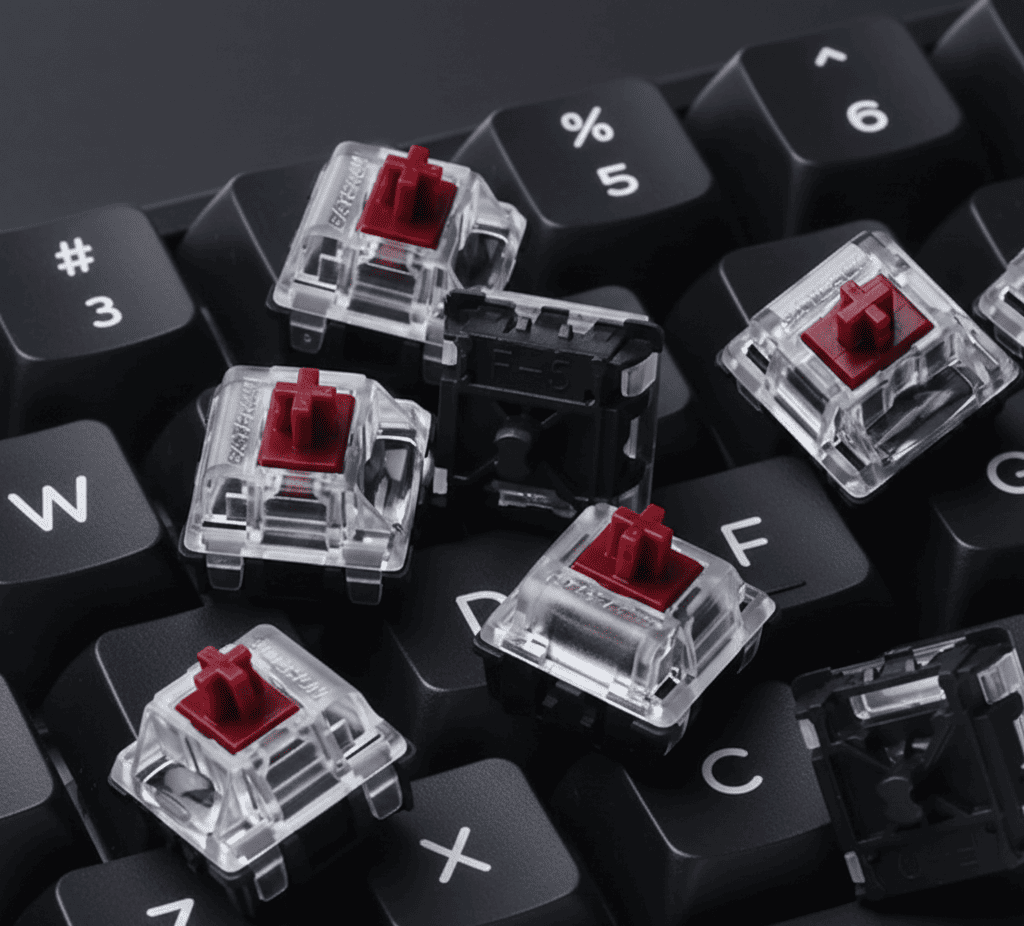
Buy a few extra keyboard switches beyond your needs; a pack of five to ten spare switches is prudent. Match the mount type and pin count to your board. If you own a plate-mount board get plate-compatible keyboard switches; if the board requires PCB-mount switches order PCB-mount variants. Sample packs are useful when you are trying new actuation forces or sound profiles. Consider seller reputation, return policy, and shipping time when ordering keyboard switches — small mismatches in pin count or stem style can stop a swap dead.
Care, safety, and long-term maintenance
After replacement cycle through the key tester and watch for intermittent or double presses. Maintain the keyboard with periodic cleaning and avoid liquid spills near swapped keyboard switches. Keep an inventory of spare springs and switches if you tinker frequently. If you ever need to replace keyboard switches again keep your original screws and documentation to make the next swap faster.
Common mistakes and how to avoid them
A few avoidable mistakes cause most problems when replacing keyboard switches. Don’t force a switch out of a soldered board; desolder first. Avoid excessive solder because blobs can bridge pads. Don’t mix up switch orientation; the stem notch must face the right way for stabilizers and keycaps. Don’t forget to test each new switch before full reassembly. Follow manufacturer repair guides and take it slow — rushing is the fastest way to damage a PCB or bend pins.
Final checklist before you call it done
Before closing the case do a final sweep: test every key with a key tester or simple text editor, verify stabilized keys feel right, ensure no screws are loose, and clean off any solder splatter or flux residue. If a key misbehaves isolate it and recheck the pin seating or solder joint. Once everything is good enjoy your newly tuned keyboard and the satisfaction of having replaced keyboard switches with care.
Read our article our article on Wrist Rests